
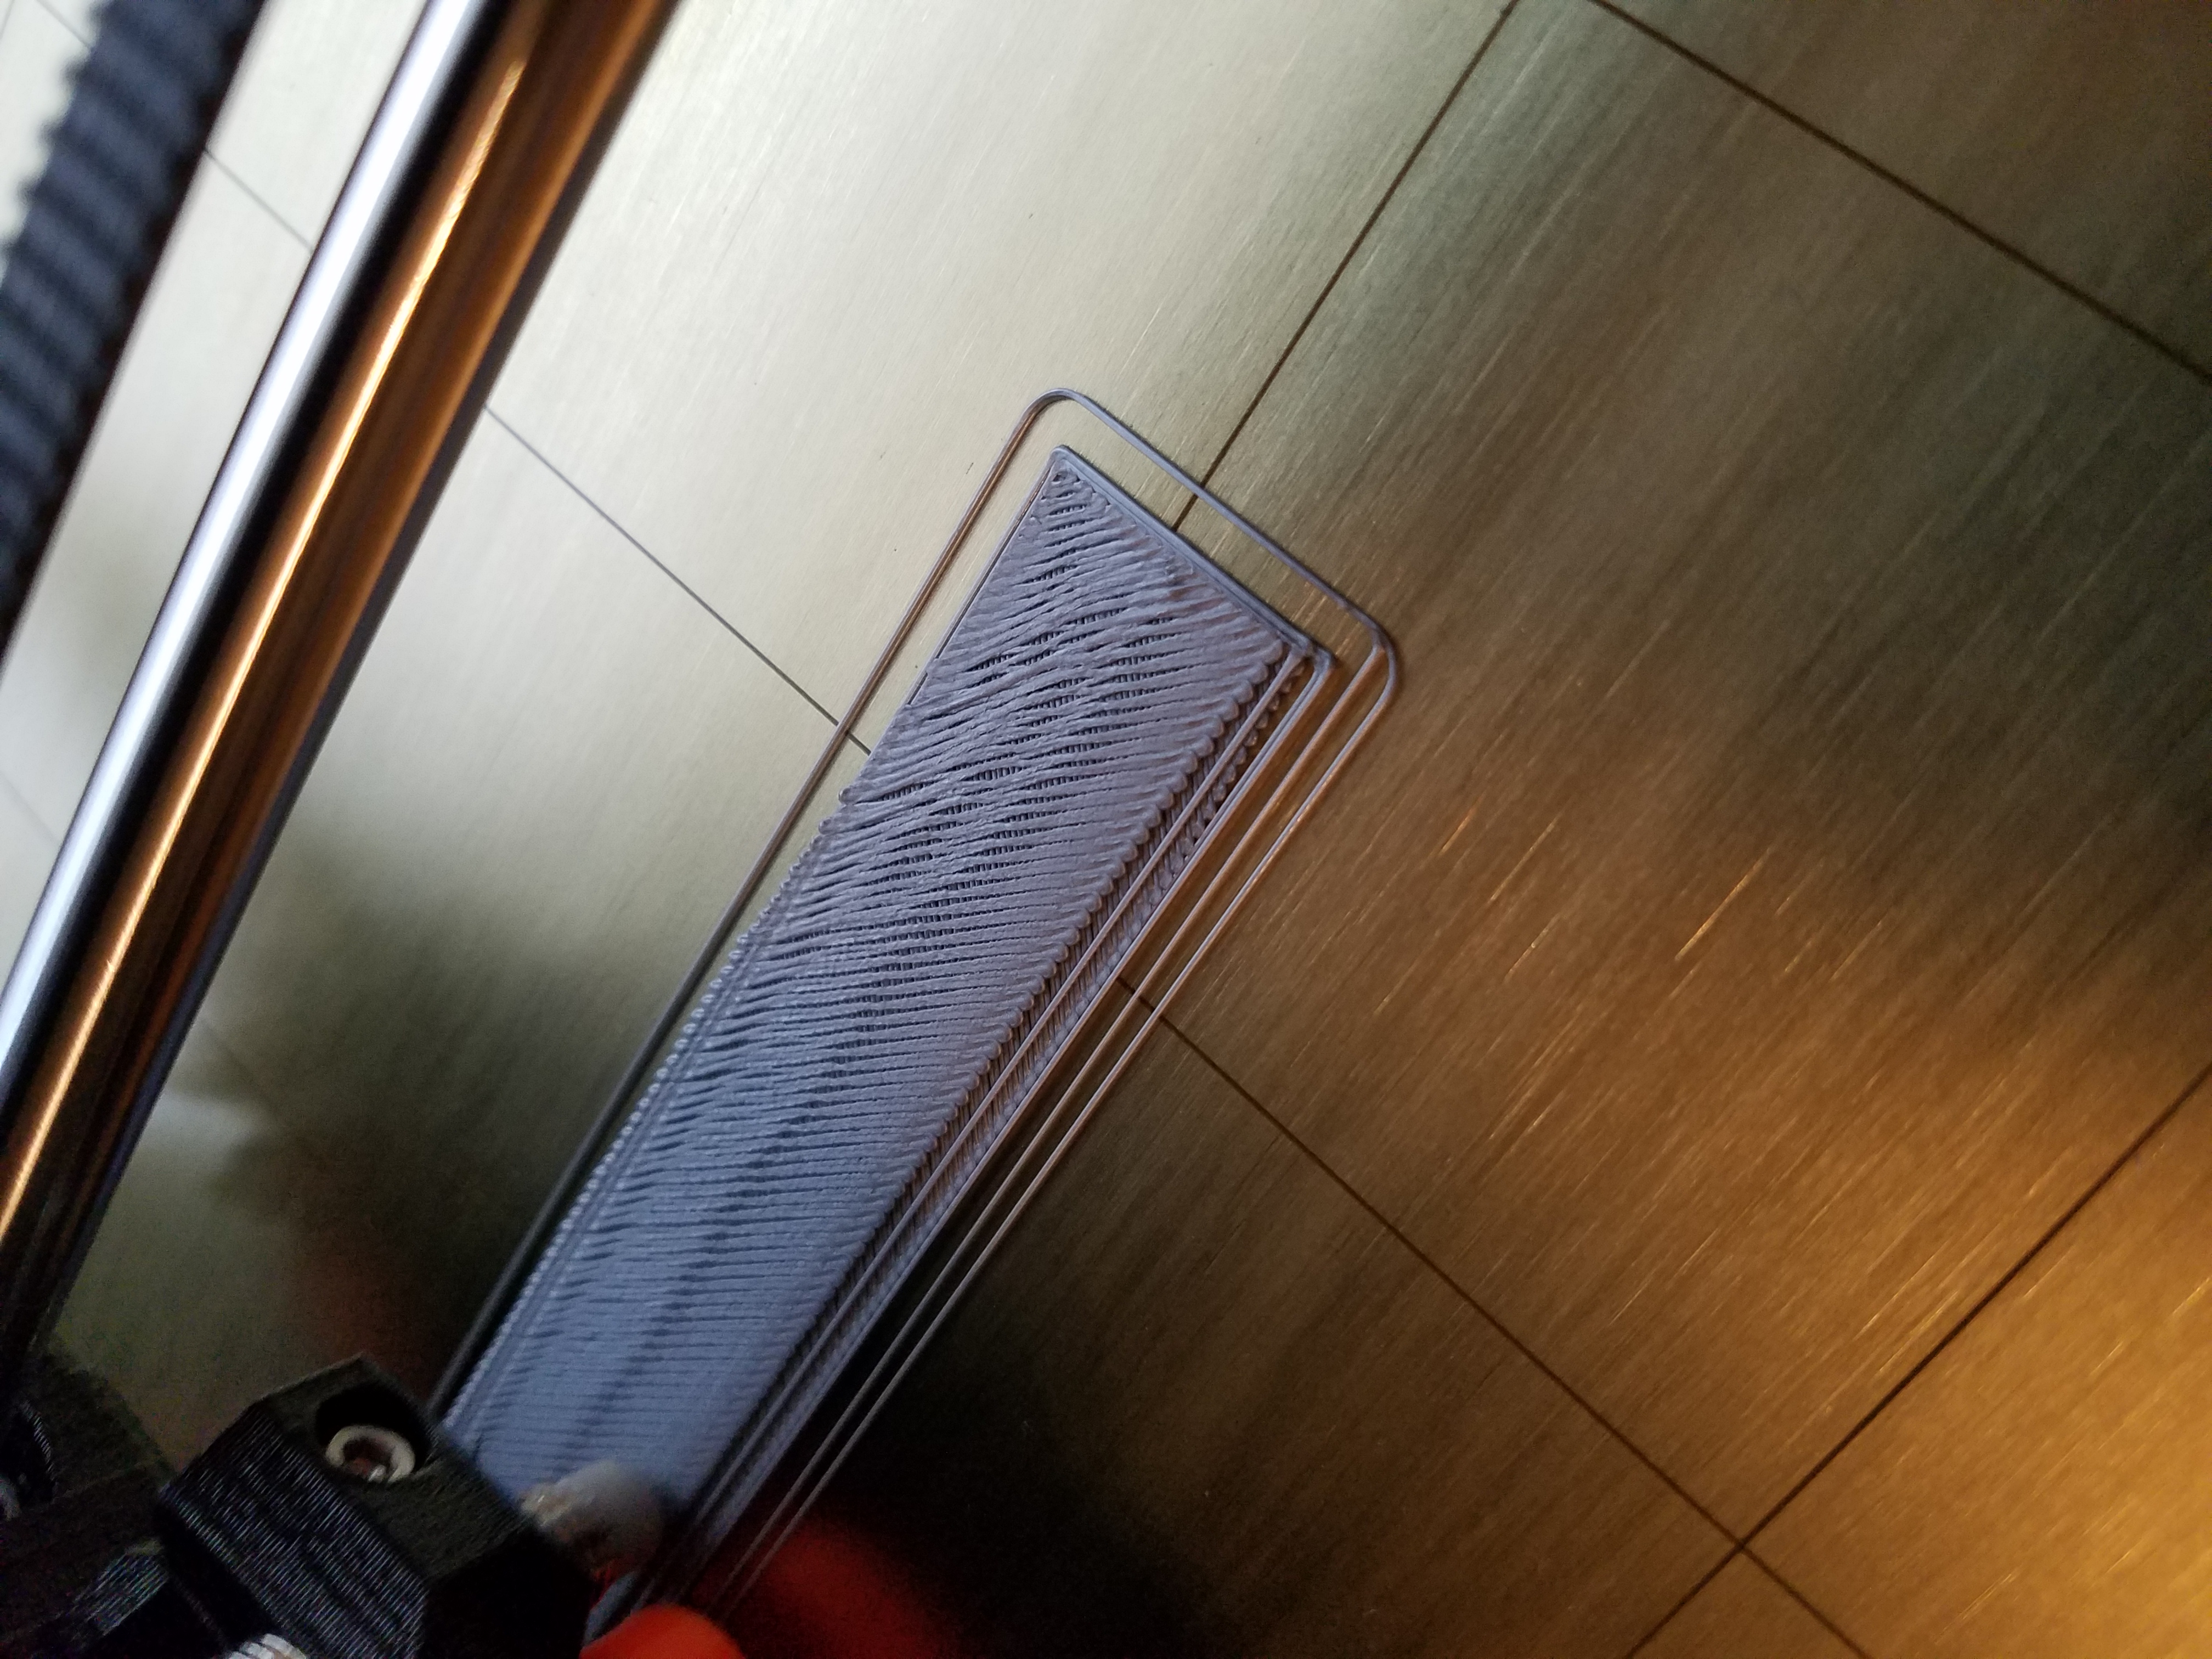
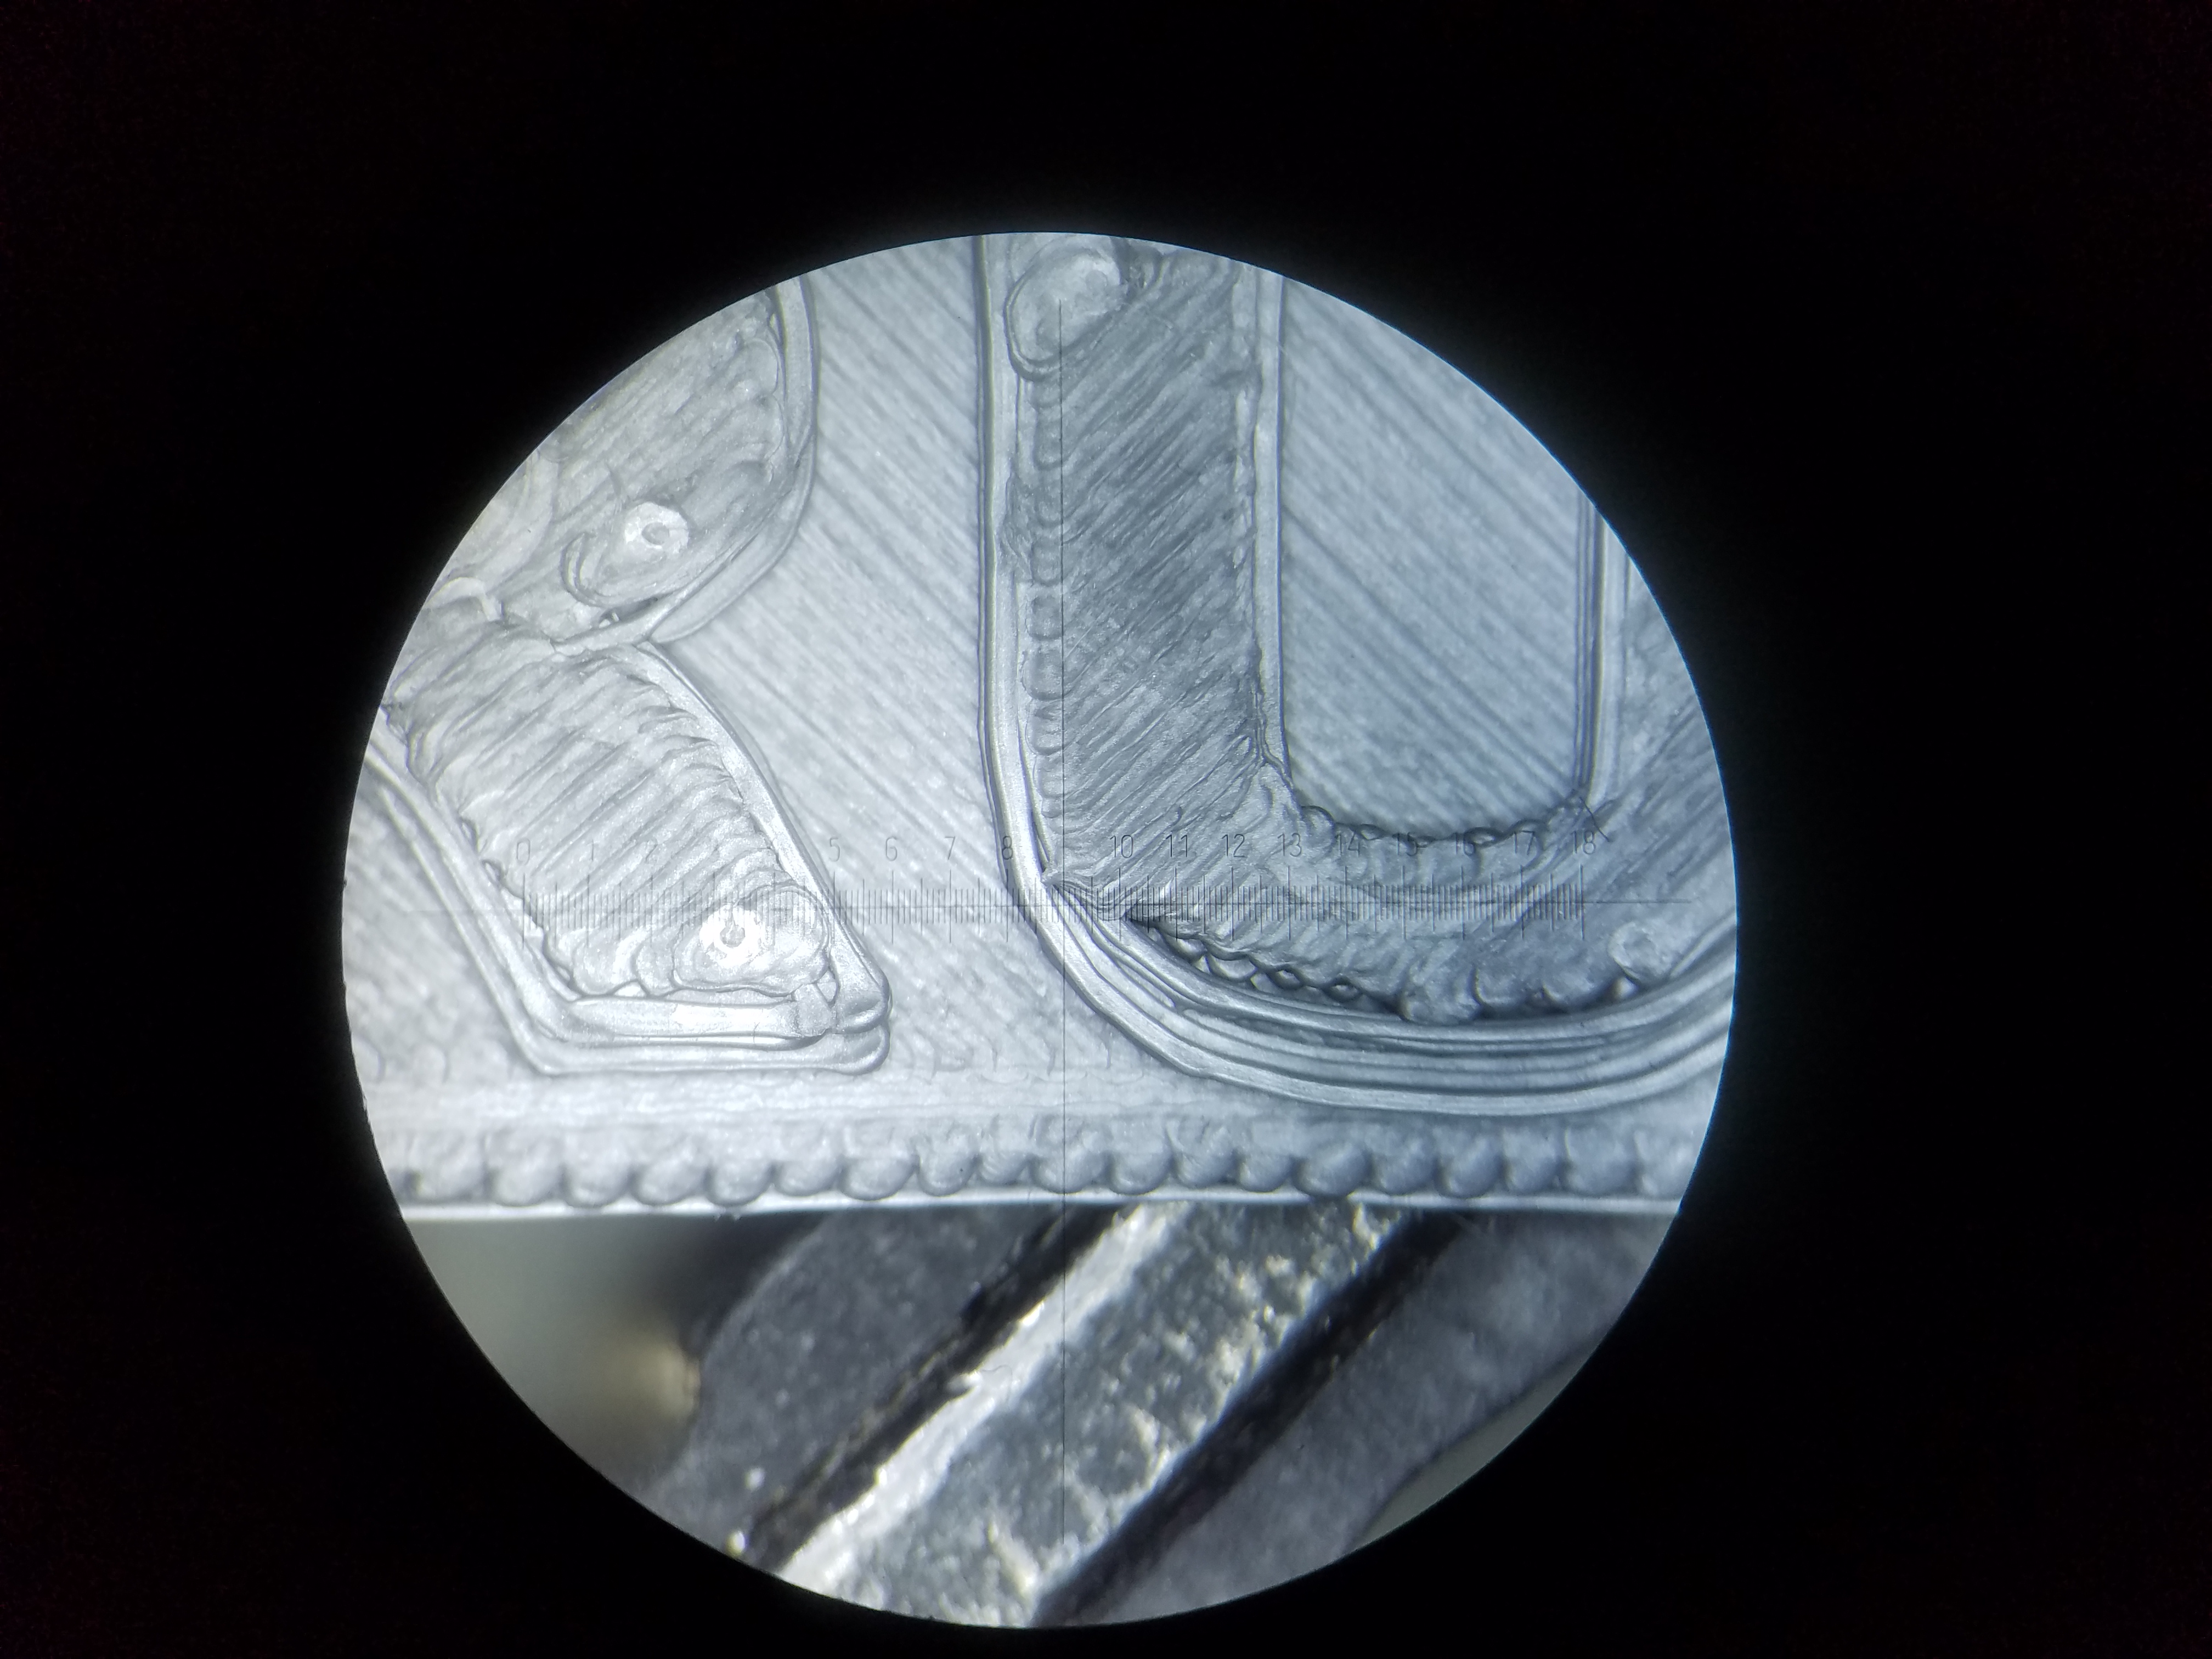
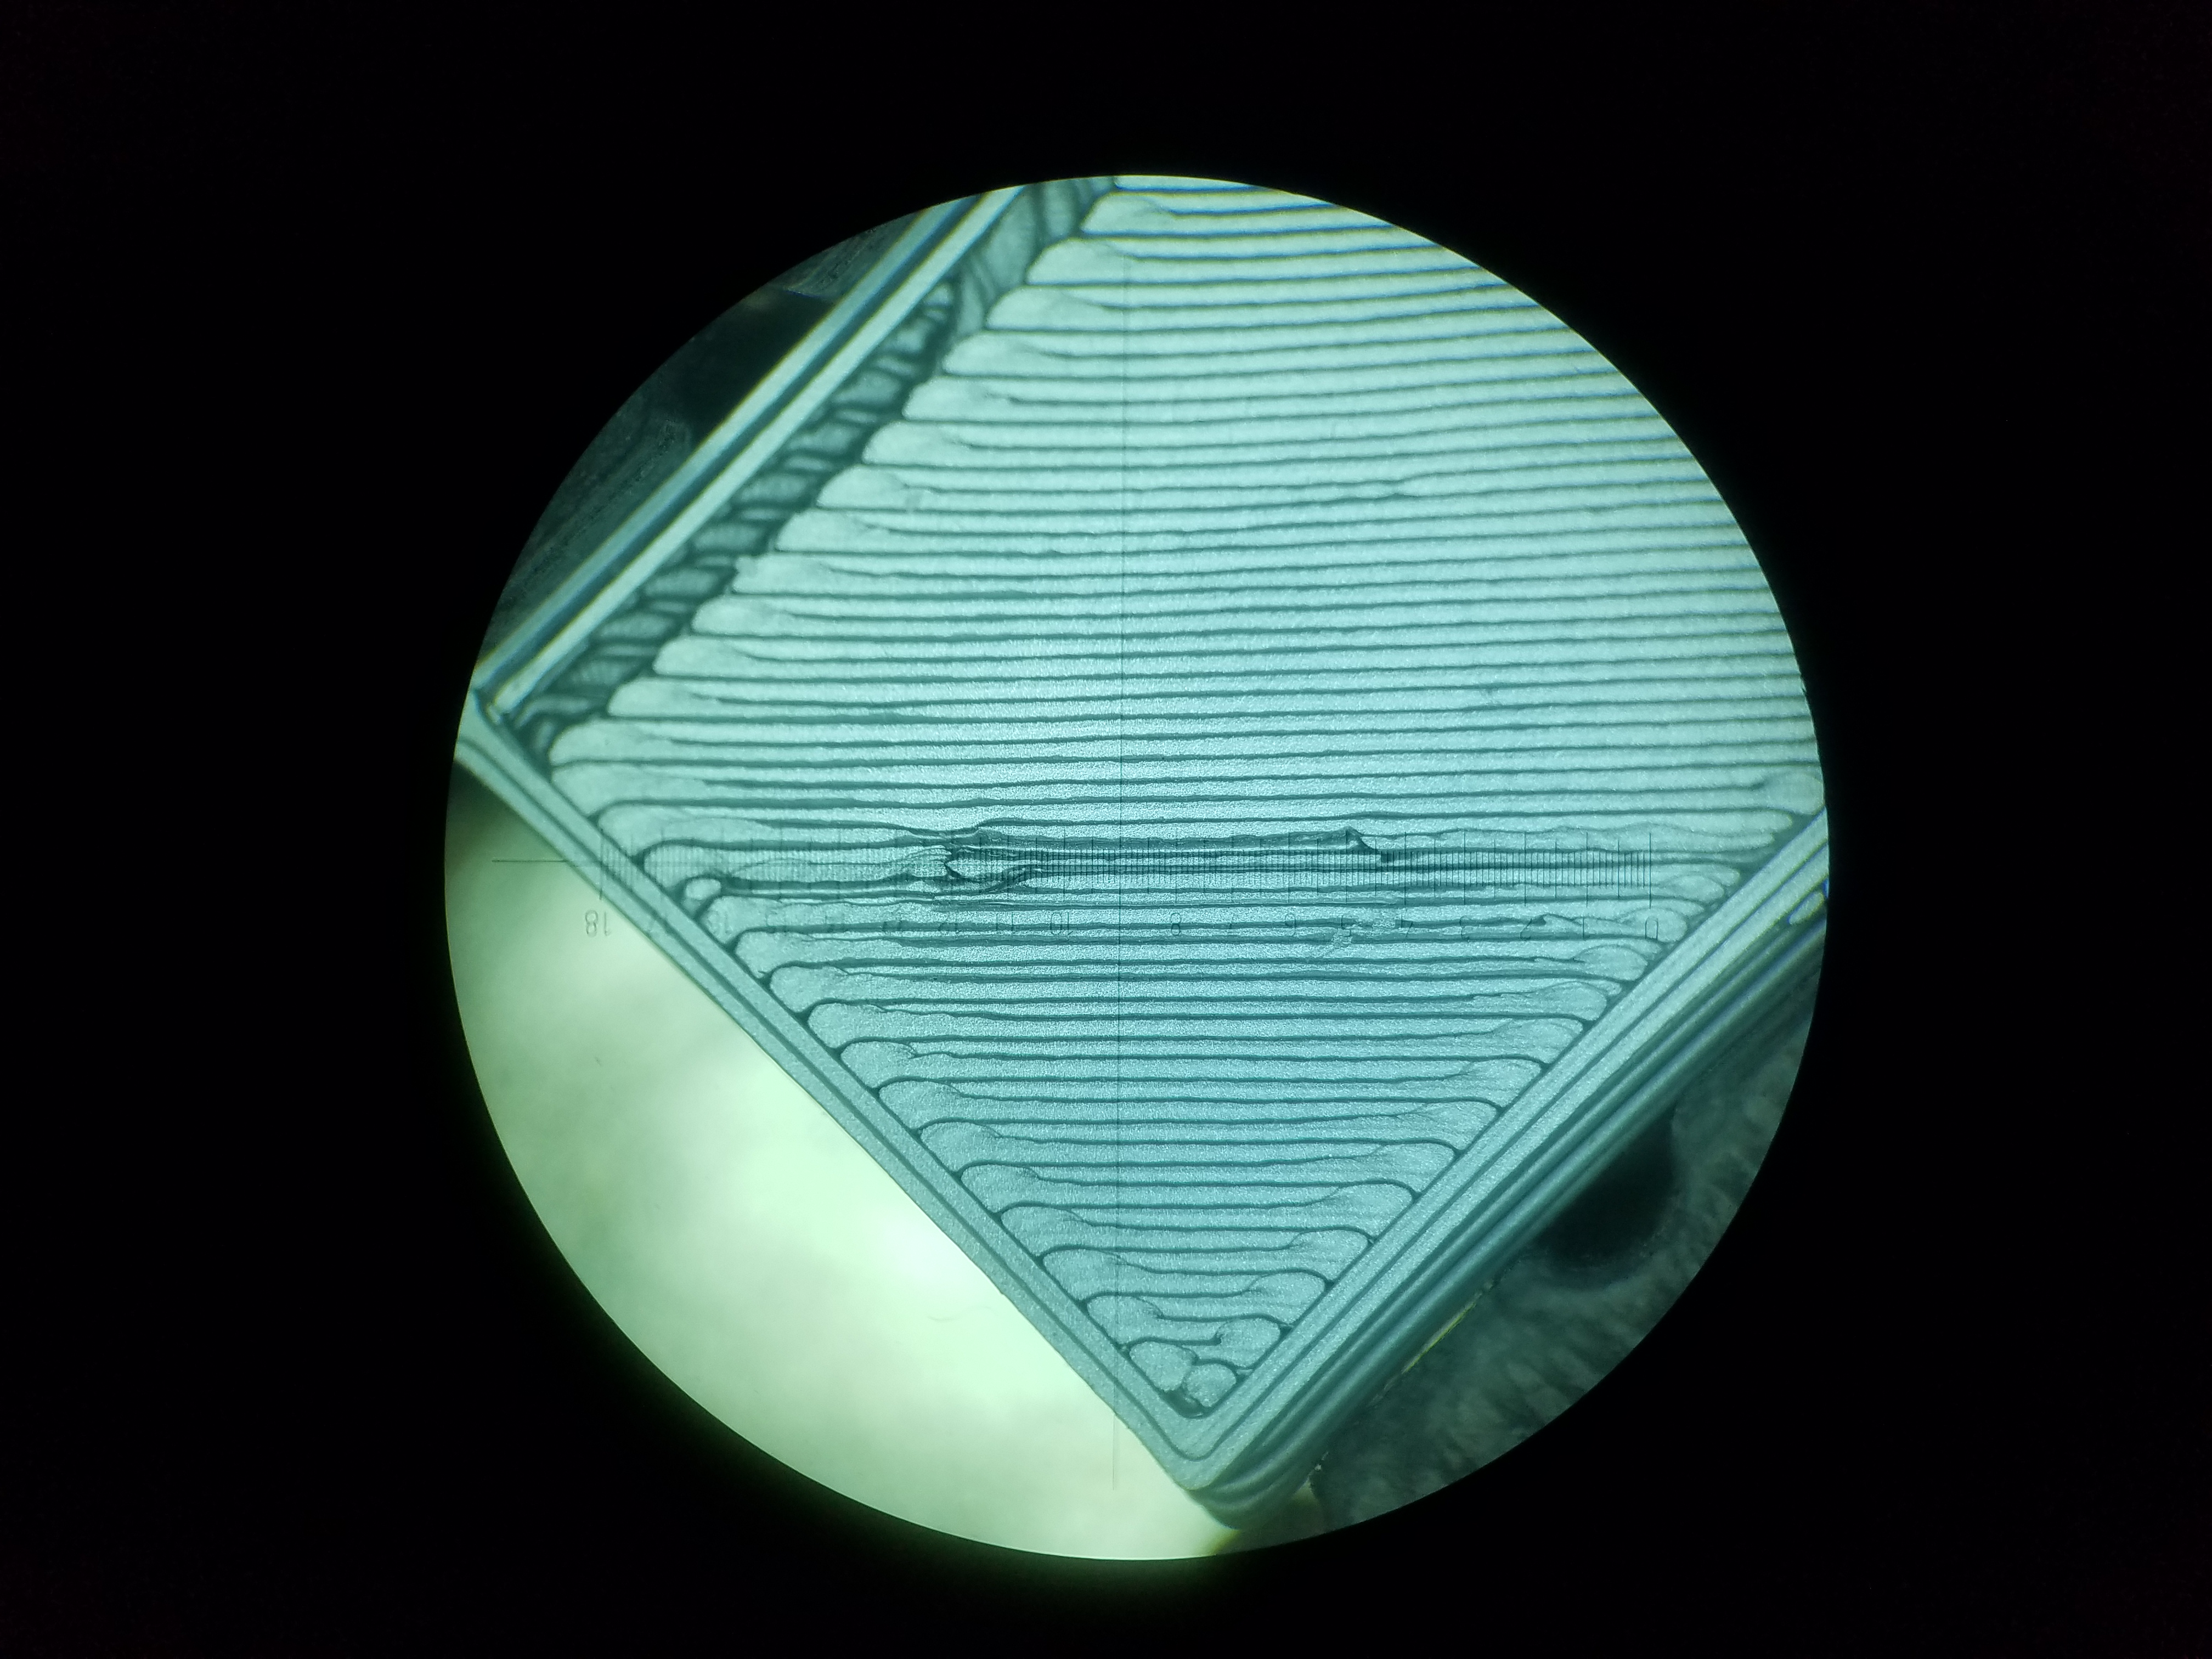
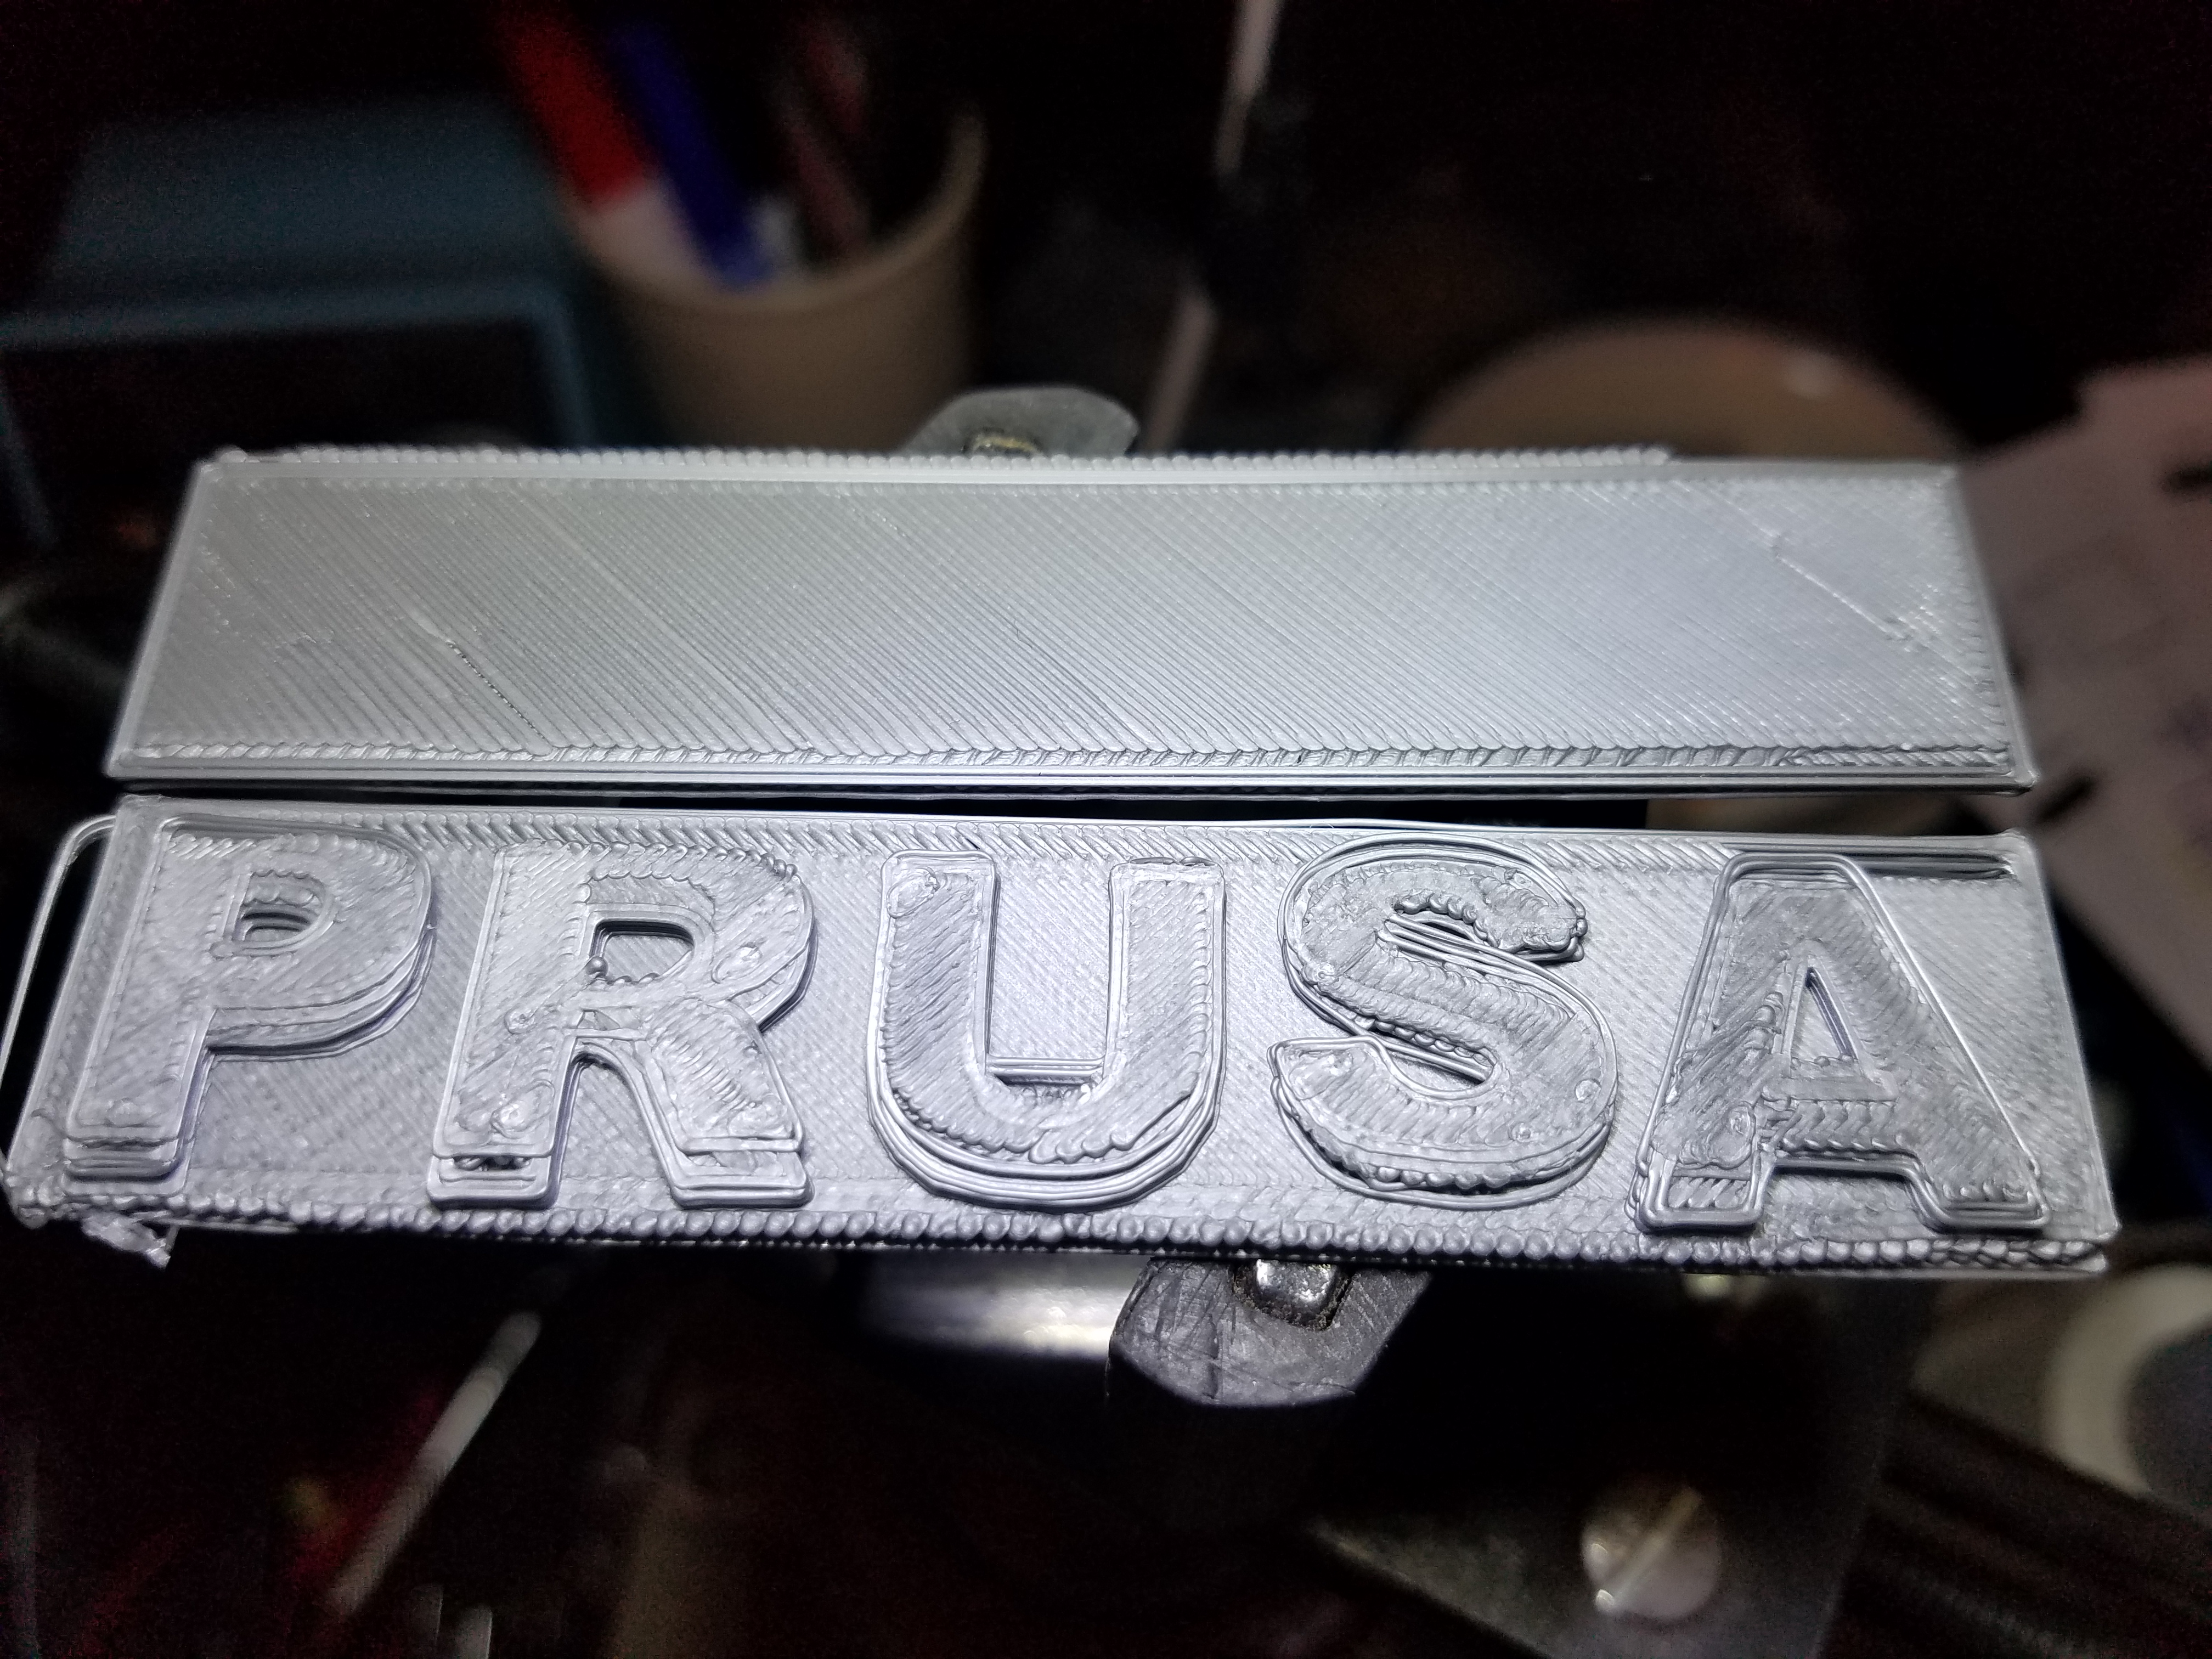
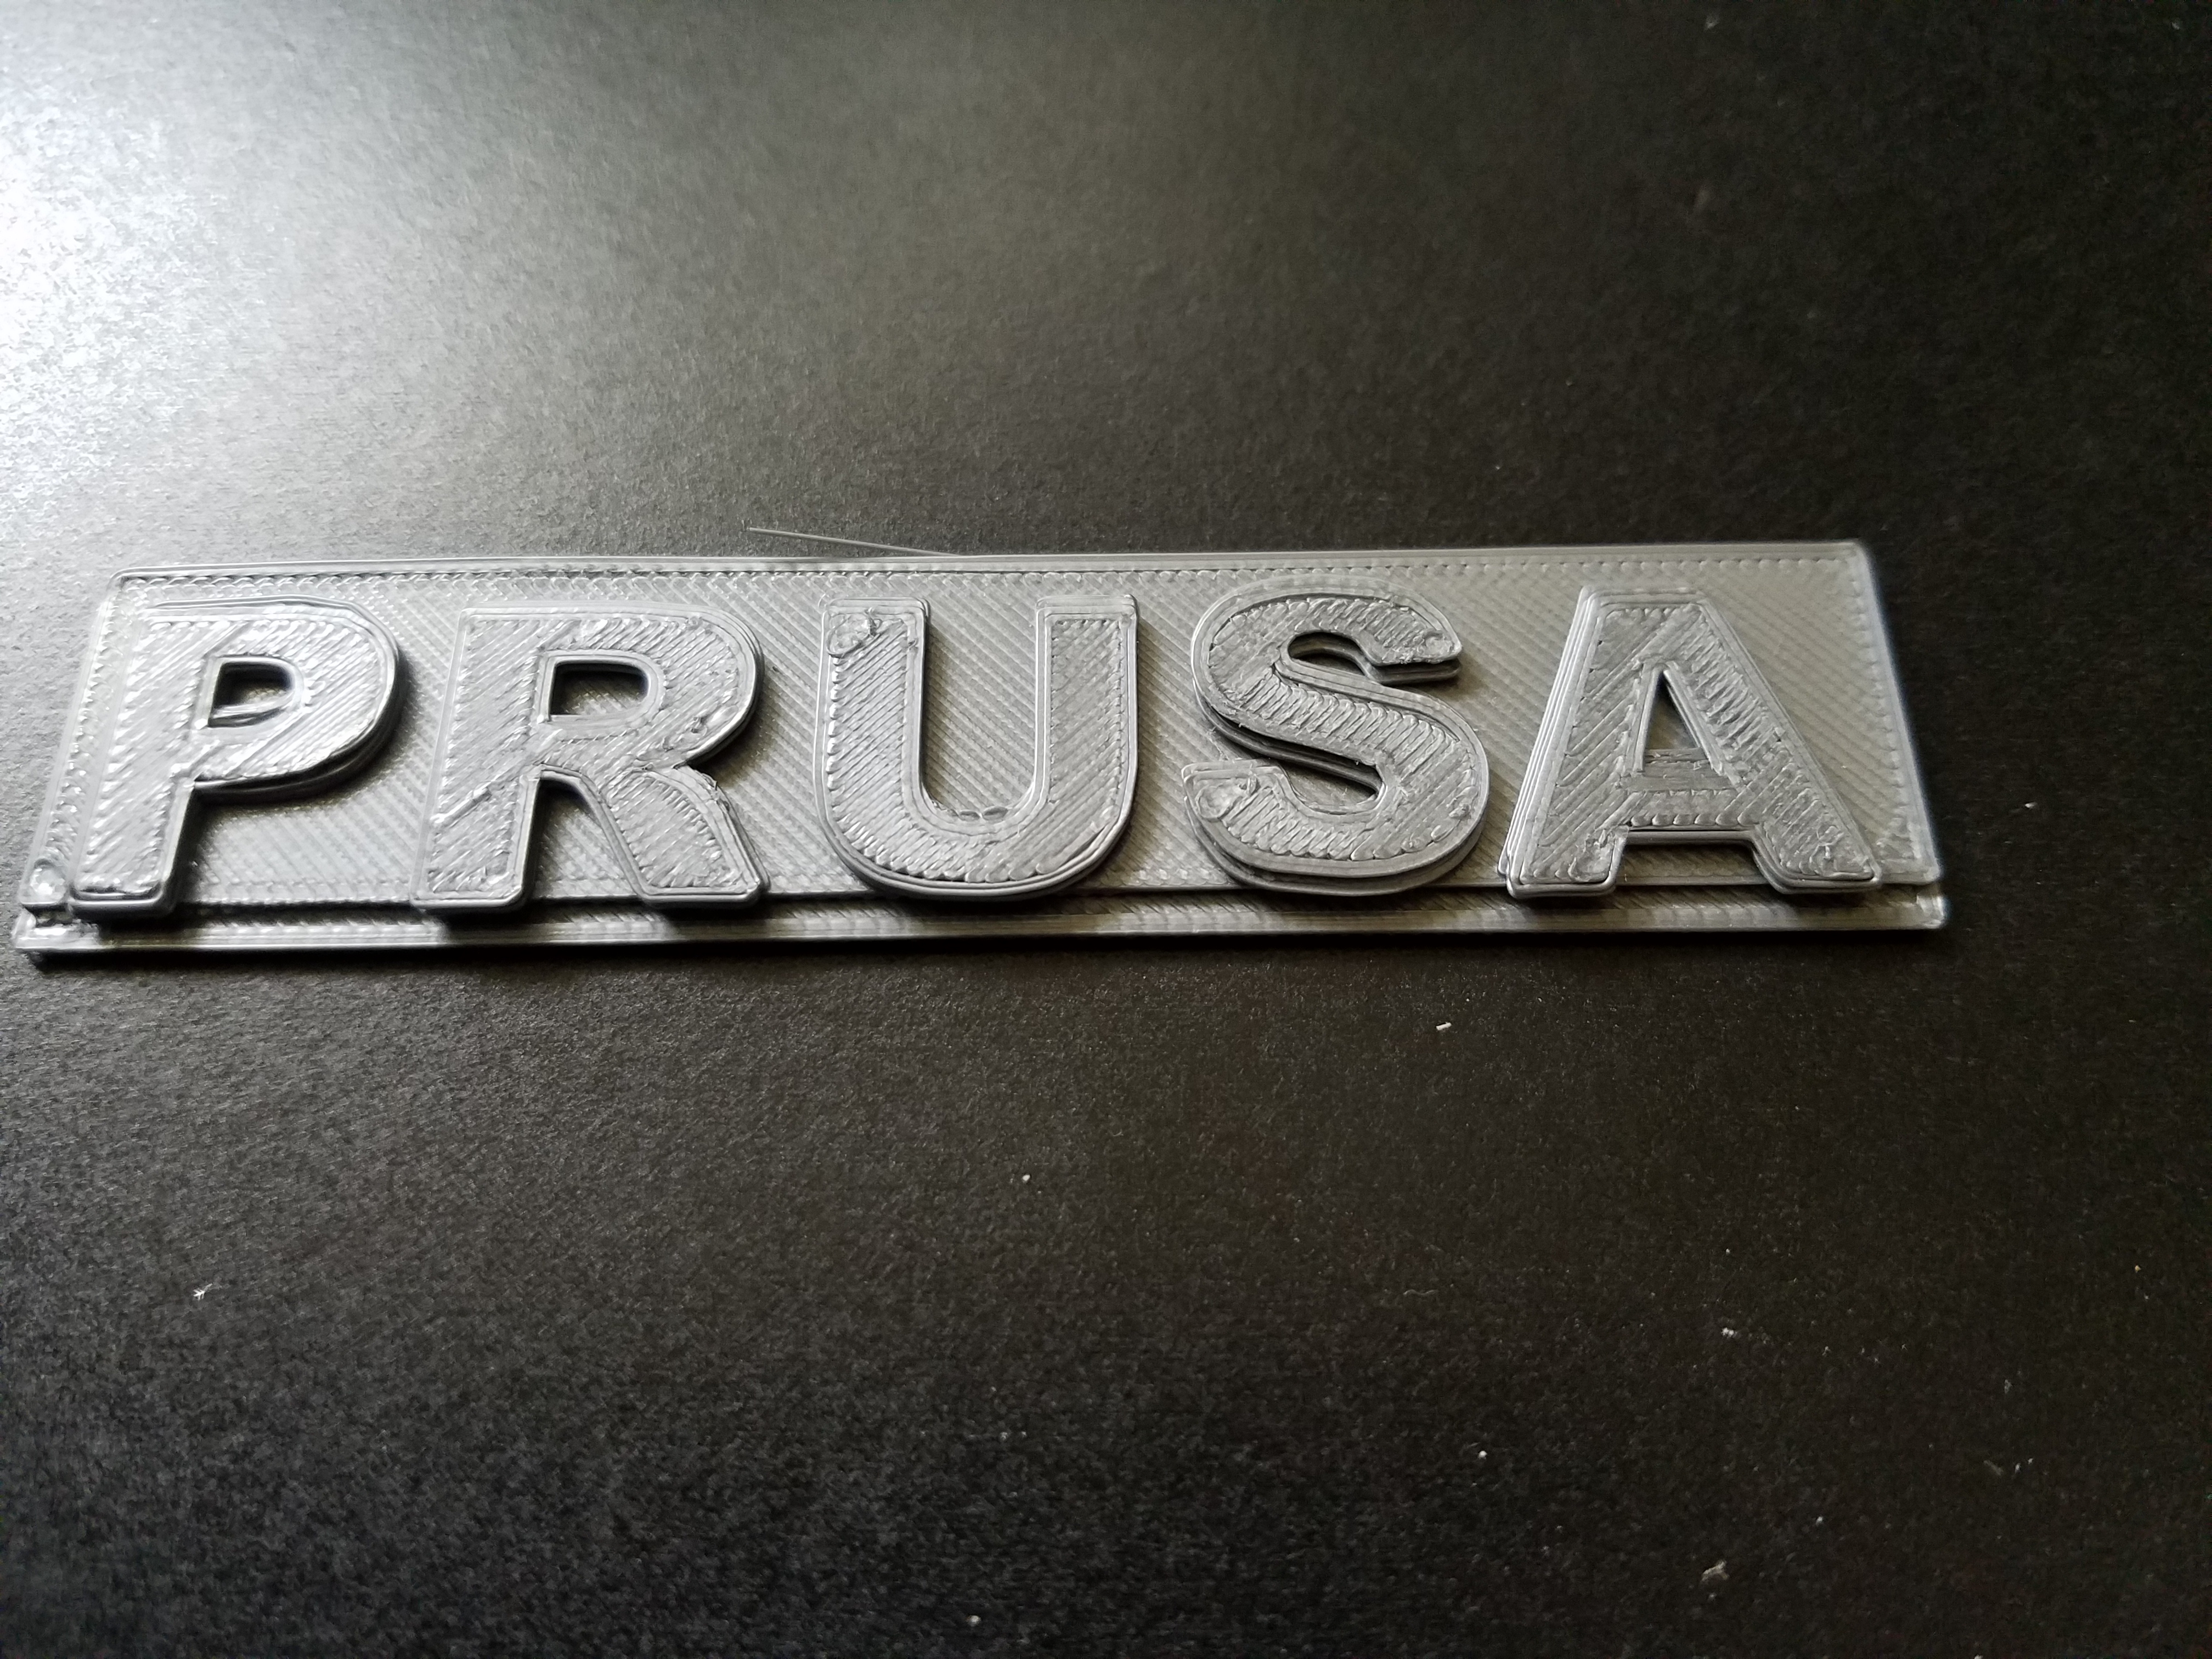
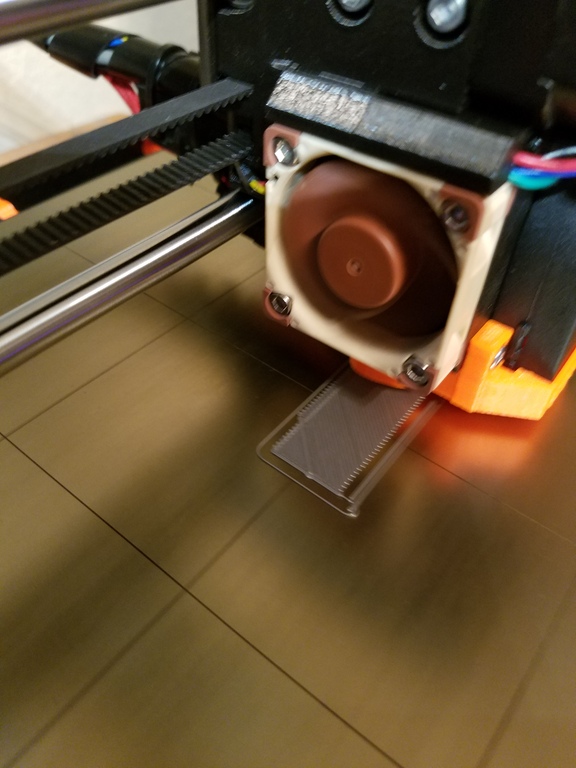
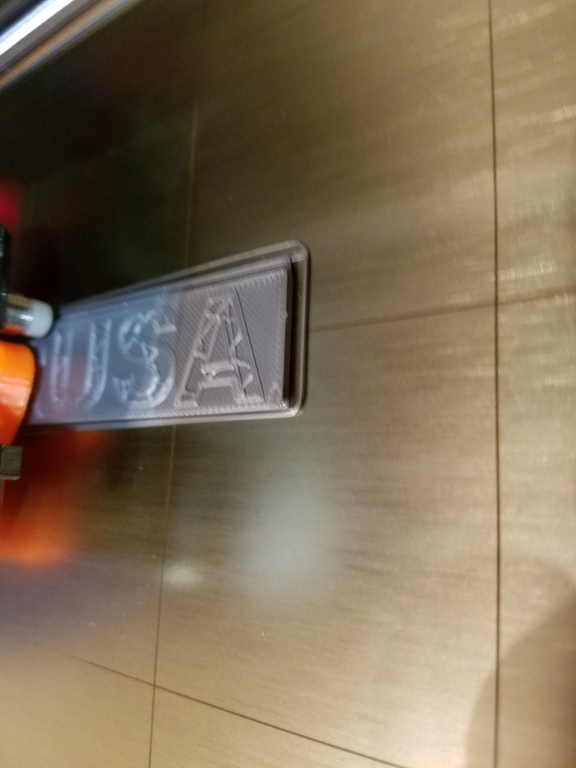
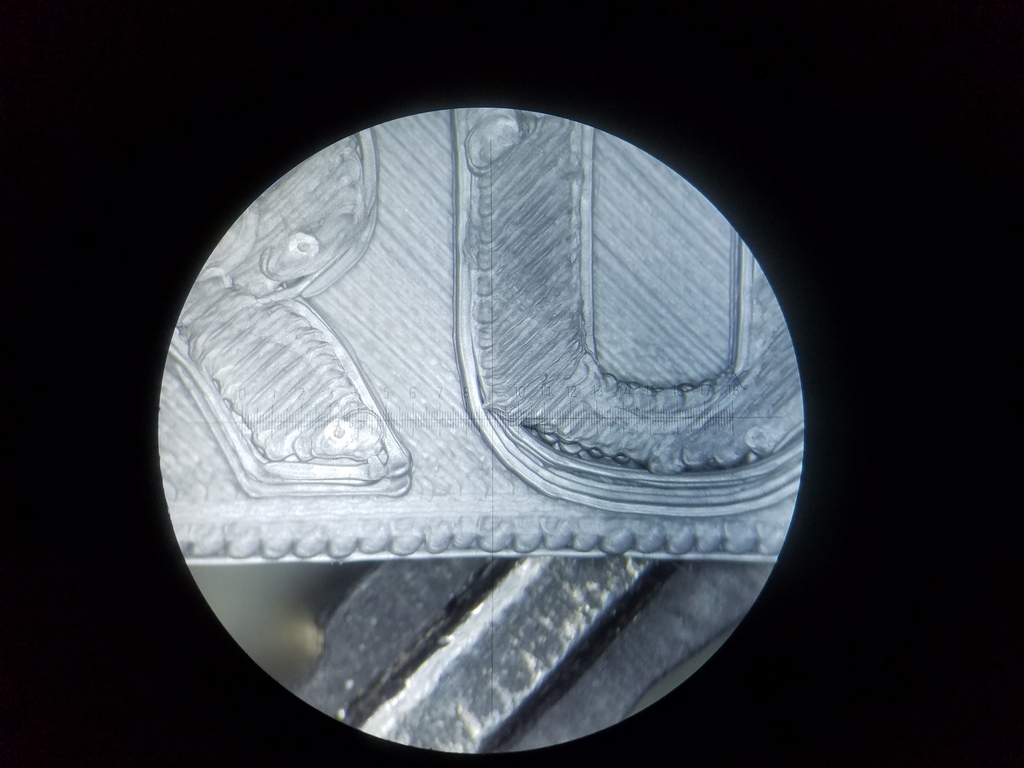
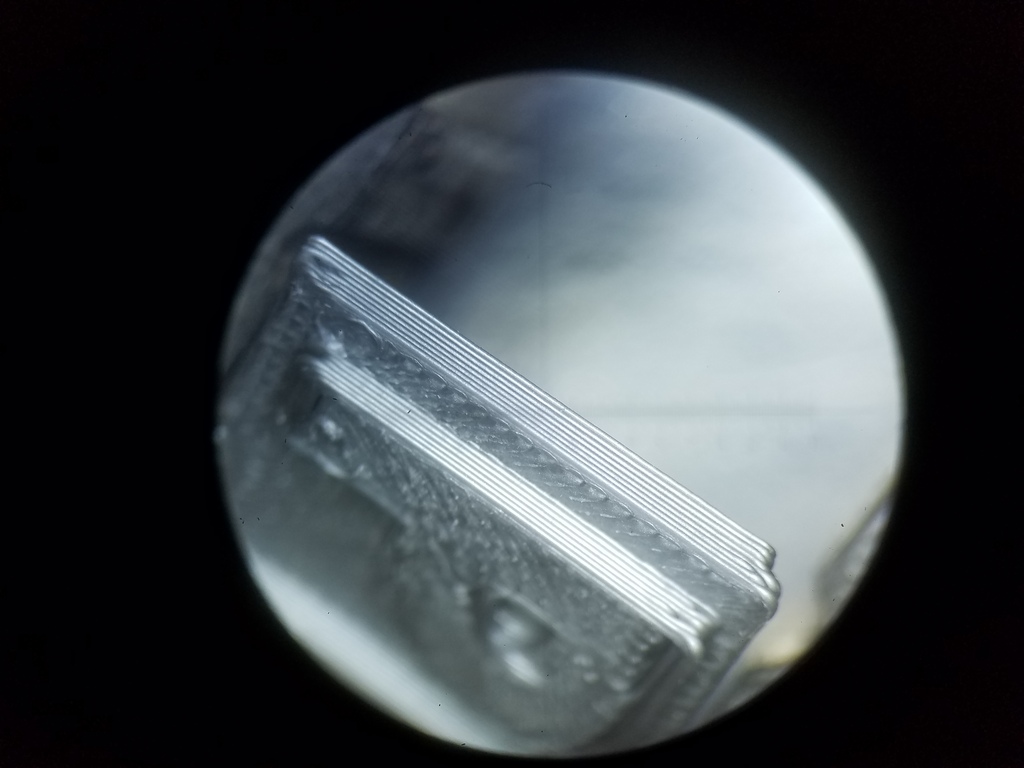
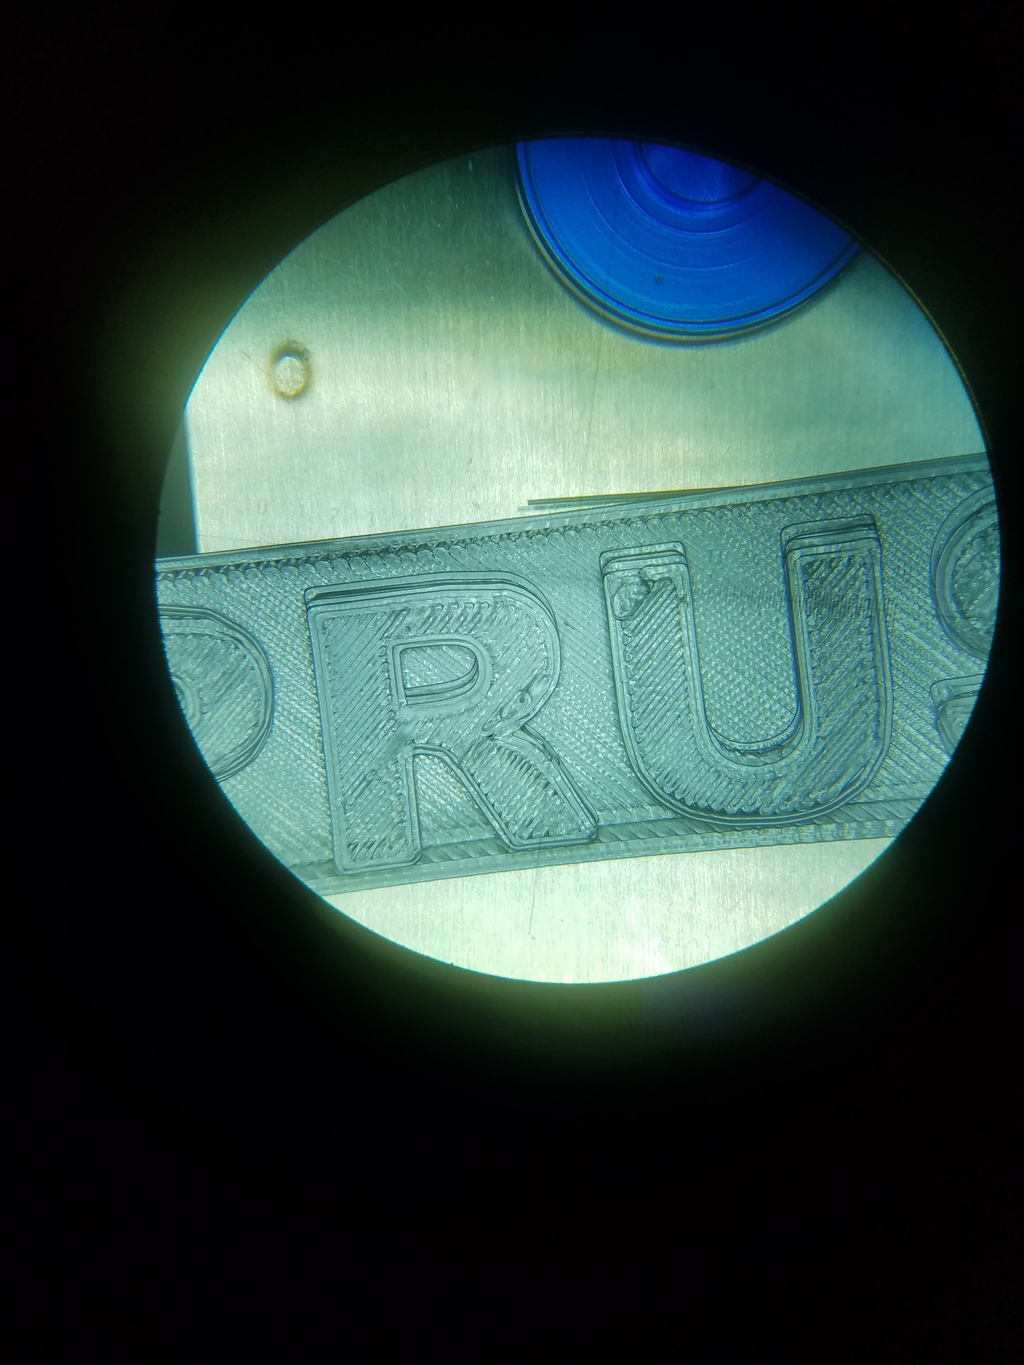
After assembling my i3 MK3 and resolving its PINDA problem it wouldn't print anything right. The X and Z axes seemed spot on but the Y axis was drifting all over the place (see the photos below).
First I turned to my brother who has an MK2s and I went through everything we could think of. First the obvious: checked belt tension, axis movement, watched for skipping steps, varied temps... Then I tried obscure stuff: stealth mode, turning off Crash Detection (false detections with erroneous corrections could do it, right?)... Then I turned to Prusa support.
Given that I'd already tried so many things and support folks everywhere always want to go through the steps (and want to see pics of what you're talking about) I thought I'd head them off at the pass. So I took pictures, wrote up a lengthy description of my problem, listed the things that I tried and sent off a note to info@prusa3d.com for the live techs to reference. THEN I contacted the live support. On a Friday night.
In short the live support was swamped and said, "please send an E-mail instead." When I told them that I had already sent one they wanted to leave it at that and get me off the line. (So I don't recommend sending E-mail preemptively if you don't want brushed off.) But having had the printer for almost two weeks and still unable to print ANYTHING I pressed on, acknowledging that slow, busy support was better than no support.
I wound up pasting chunks of my E-mail to the live chat (why did I send it?!?) and then for several hours with long delays between our responses (them helping other people, me disassembling, reassembling, tweaking and doing test prints) we went back through the usual and obvious... Missed steps, misaligned belts, belt tension, etc. Nothing. In the end we ran out of things to try and I gave up at 2:00 am. Live support told me they'd make sure the the support folks looked at my E-mail (since I'd labeled it as being intended for the live support folks so the E-mail folks wouldn't waste their time on something I'd hoped would already be resolved by live support) and that:
We will answer on first business day, as it will be possible.I took that (rightly, it would seem) to mean that, unlike "live support" which is 24/7, E-mails are only handled during business hours. So for the weekend I was on my own.
The next day it occurred to me to slow the print speed waaaaaaay down. That made things, well, not "better" but much more consistent. It took me another day to worry out the problem. The pulley on the motor was loose. Woops. Tighten that up and all was well. Success.
It took me another couple of days to work out how I could have made such a stupid and obvious mistake. There are two parts to that. First the Prusa assembly manual has a format that tends to semi-consistenly mark steps you need to make with blue, yellow, purple, red or green bullets with black bullets denoting fluffy, frilly comments like:
Z-axis is done! Time for another gummy bear. You still have some right? :)
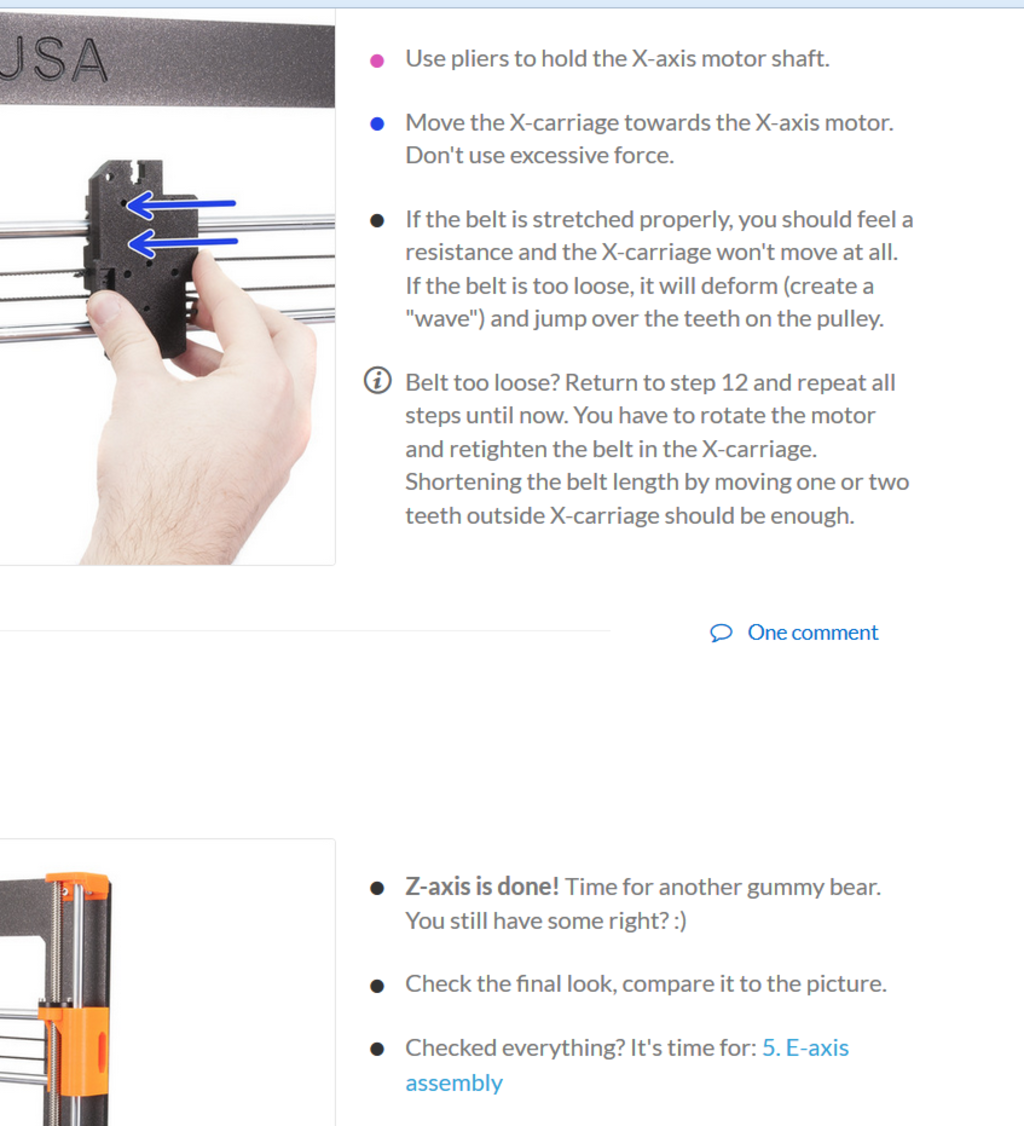
Instead of color, Y axis assembly step 31 uses a big fat circled "I" that, after someone would likely already have tightened the pulley, says:
Don't tighten the pulley firmly yet, we'll get to that later.
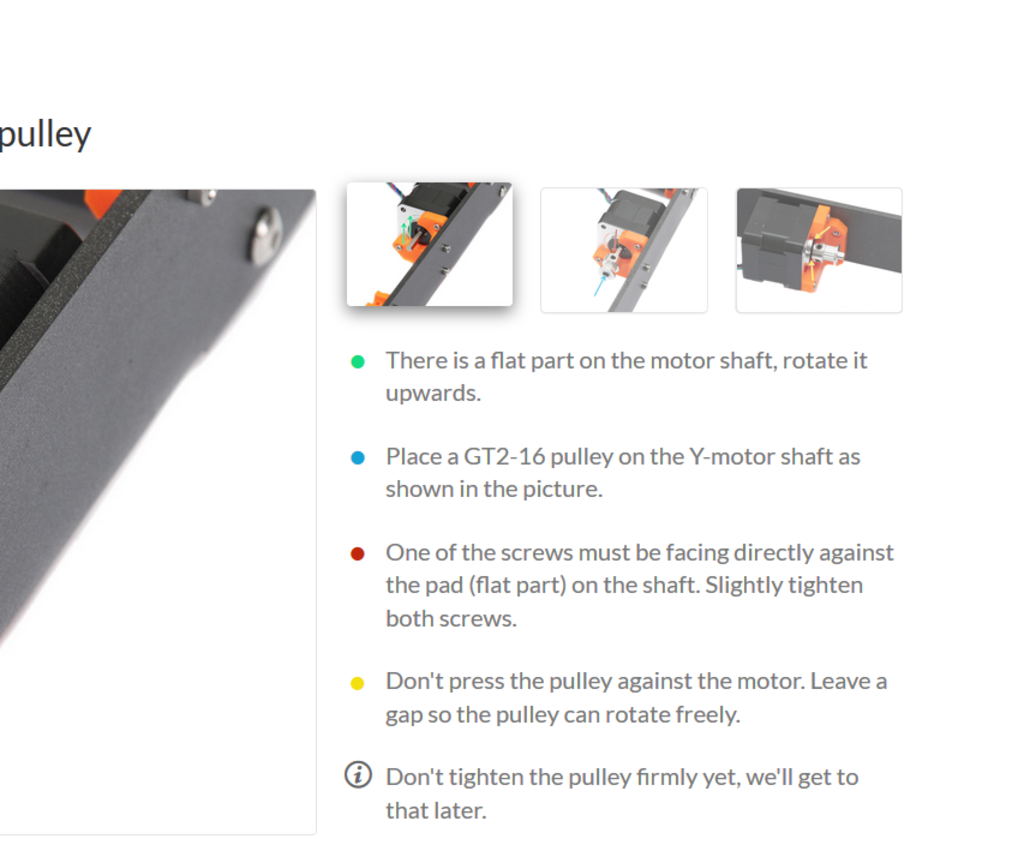
Then in step 35 a final, black bulleted parting shot that USUALLY contains "gummy bear suggestions" says:
Tighten both screws on the pulley.
And I missed that. Technically the Prusa instructions were correct and I bungled it, missing a vital step. On the other hand Prusa's inconsistent use of bullet colors and humorous asides (which were appreciated despite not caring for gummy bears) led me down an ergonomic trail to failure. Kind of the same way some doors have to be labeled "push" because their look and feel just scream "PULL ME!" If only I'd ready the sign...
A week later I got a reply to my E-mail:
please check Y axis belt. I think, that problem should be problem somewhere in Y belt. Check if it is perfectly fixed in plastic parts, pulley on motor axis is perfectly fixed on it and second pulley on other side is freely to move.
A day late and a dollar short but, in a shotgunned sort of way, spot on. Collectively we'd been through everything else but the electronics and firmware. But E-mail were the first to mention checking that the pulley was firmly attached to the stepper. Still it felt more like boiler-plate guessing than "we've seen this before and know the answer!"
Prusa_Y_Shift_FirstLayer.jpg at 1024 x 768
Prusa_Y_Shift_Second_Layer.jpg at 1024 x 768

Prusa_Y_Shift_Fill_Layer.jpg at 1024 x 768
Prusa_Y_Shift_Top.jpg at 1024 x 768

Prusa_Y_Shift_Edge.jpg at 1024 x 768
Prusa_Y_Shift_Bottom.jpg at 1024 x 768
Prusa_Y_Shift_Overview.jpg at 1024 x 768
Prusa_Y_Shift_Slow.jpg at 1024 x 768

Prusa_Y_Shift_Slow_zoom.jpg at 1024 x 768